


Taking good photos is crucial to anyone who wants to have a presence on the Internet, and since this is a new blog, it deserves good pictures. My old blogs (I had two, they are no longer in existence) were failures in this respect. I didn't know how to take pictures of the things i was making, and so my pictures weren't engaging, they weren't clear, and they certainly weren't attractive. So I decided that my first mission should be learning to take good, clear pictures.
I quickly learned that there are actually a bunch of different skill sets for photography, and there was no way i could learn or cover them all with one post. Someday there will be posts for portraits, big things, places, food and photoshop. For now I'm starting small, with photographing small things.
Photographing small things, or macro photography, can be helpful in any number of situations, from taking pictures of a beautiful flower to selling things on ebay or etsy, or just showing off your little things.
Let's start with my old method of taking pictures.
Here's an example of what a couple of my pictures might have looked like before this post.
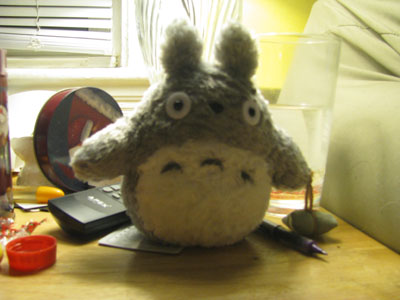
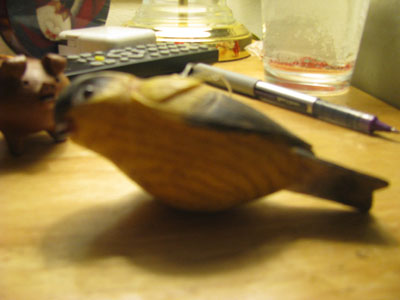
there are obviously about a million things wrong with these pictures, but lets take them one at a time.
Number 1- obviously get rid of all the other junk in the picture, it's distracting and sloppy.
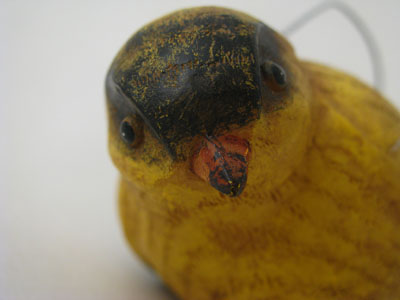
After we clean up a little, lets make the most of the camera. To take the picture, I used the automatic feature on my camera and nothing else. Now lets add the macro, most newer cameras have this handy feature, it's usually a flower icon. It helps zoom in on details of the picture.
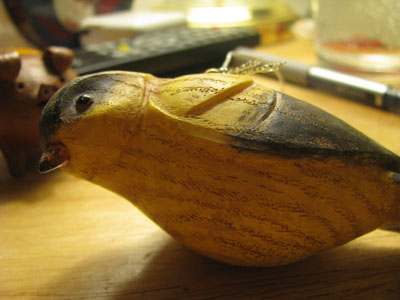
wow, huge difference right? and that's just one little change.
The next step is to alter the light in the photos. You can see that Totoro is pretty yellowy in the first picture, that's because the light from incandescent bulbs is very yellow compared to natural light. My camera has a light feature called tungsten that adjusts the way light shows up in the picture to filter out the yellow.
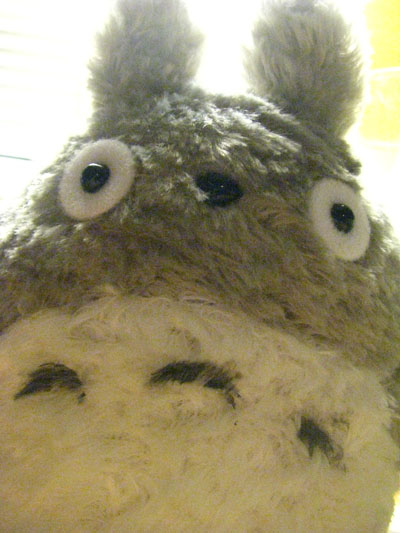 now Totoro's white parts look much more brilliant!
Stability is also important, everything I read researching this post advocated a tripod. I don't have one yet, so for all of these photos i either set the camera on the table, or stabilized it on a stack of books. There are some great, cheap small tripods out there, I'm just trying to decide whether i want to spend $9 on an ok tripod like this or $50 for this Gorillapod, which can wrap around things, and stabilize on many surfaces.
The next improvement I made was making a light box. I definitely recommend building yourself a light box out of a cardboard box. It's easy and mine is far from perfect and it has improved my pictures by leaps and bounds. You can see easy tutorials here, here, here (this one has a video), and here (this one is made from a milk jug). This allows you to have a seamless background and diffused lighting for a ton more control. Diffused lighting helps to minimize glare and shadows.

The white of the sides and background of the picture reflect light, so the lights on the outside of the box are lighting it not only from their spot, but effectively all around him. You can reflect light with poster board etc. in regular photography too, white boards used to reflect light are called flats. Directed light can also be made with a hand held mirror.
For glass, white backgrounds won't work, because the detail of the glass will blend in. Instead use black, or deep rich colors. If what you're photographing is very small, like the dollhouse miniatures sold here You can use a richly colored post it.
Did I miss anything? If I did, let me know.
Links
A glossary of photography terms
http://justdigitalphotography.com/digital-photography-glossary/
More general information
http://photojojo.com/content/tips/product-photo-tips-for-ebay-etsy-instructables/
http://www.bmpt1.com/ a very informative and detailed explanation of macro photography
Tips from people who photograph tiny dollhouse things for a living http://dollhouseminiatureresource.com/yjke/
a little more info about light- http://www.sigma-2.com/camerajim/cjglighting.htm
an on the go diffuser! made out of a film canister! Super Awesome DIY! haven't tried it yet, but it looks simple enough http://photojojo.com/content/diy/diy-film-container-flash-diffuser/

No comments:
Post a Comment